01 / INDEPENDENT DEVELOPMENT
FightingEngine
design & philosophy
That old feeling, built for today
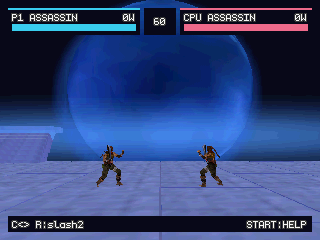
FightingEngine began with a desire to bring back the textures and atmosphere of the fighting games I grew up with, and reinterpret them for today. Modern games like Tekken 8 pushed me to think about what I wanted to make: shorter combos, more focused systems, and visuals that give the eyes room to breathe. My ambition is to create a modern masterpiece with that old soul, where the fight itself holds your attention.
Clear strengths. Exploitable weaknesses.
Every character should have a clear identity, with strengths worth playing for and weaknesses an opponent can learn to exploit. Finga has a threatening low/mid mix-up, but those options carry a big risk on block and can be evaded in one direction.
Once an opponent learns to sidestep clockwise, Finga needs another answer: an option that catches that movement, with a risk of its own. I want that back-and-forth to drive the game. Players read habits, commit to a response, and adapt when the other player changes their approach. That active, Tekken-style exchange is the heart of the combat.

One character, different weapons, your own style
The weapon system is FightingEngine’s own layer of expression. A character keeps their core moveset, while their chosen weapon overrides selected basic attacks and adds new moves. It gives players room to develop a personal style and rewards the fun of researching a character beyond the obvious answers.
For Finga, a greatsword can offer basic attacks with better homing to help cover his weakness against sidesteps. An aggressive player might choose an axe to push the damage of his low/mid mix-up even further. One choice helps cover a weakness; another doubles down on a strength. Both should come with meaningful trade-offs.
I expect players to discover meta weapons, then challenge those choices as new strategies and counterplay emerge. The inspiration is World of Warcraft’s talent builds: the same class can feel different depending on how you build it. FightingEngine translates that idea into a fighting game through weapon choice.
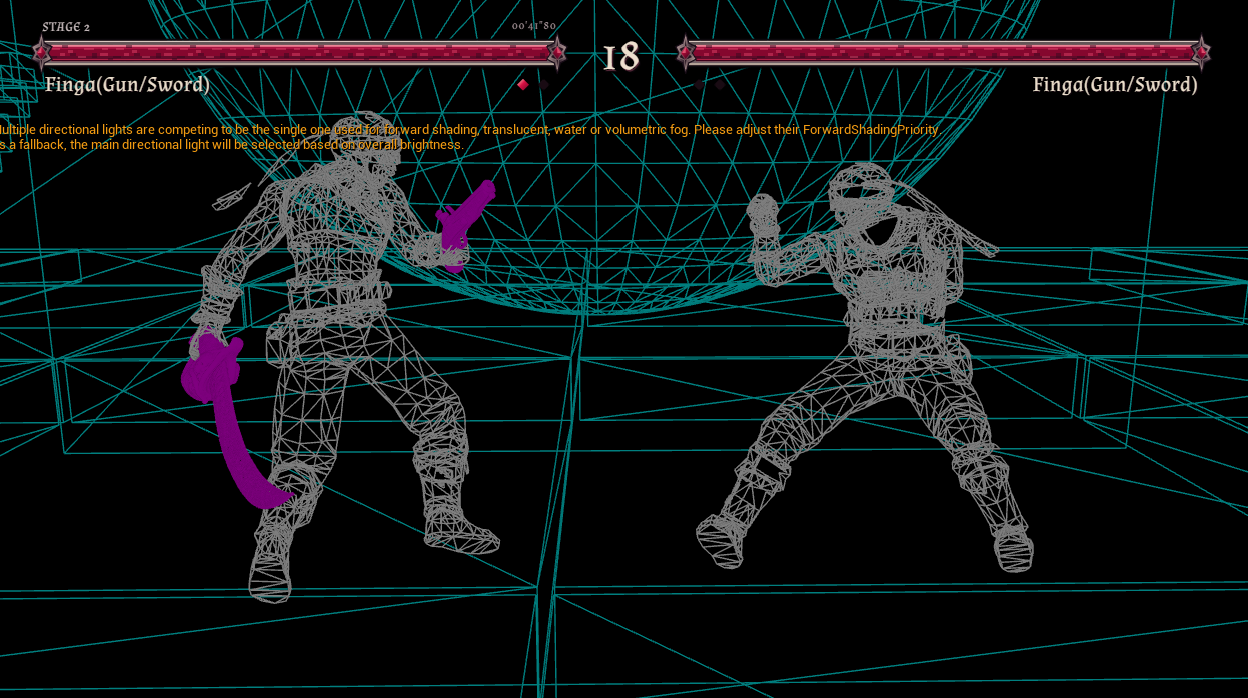
hitboxes, pushboxes & attack detection
I implemented hitboxes and pushboxes, separating attack contact from the volumes that keep the fighters from passing through each other. This established the collision rules for resolving attacks.

frame advantage & hit levels





I implemented frame advantage and disadvantage, directional evasion, and high, mid, and low attack checks. These clips document the interactions between attack timing, defense, and positioning.

keeping the fight visible

I implemented an occlusion-fading system: when a wall blocks the camera’s view of the fight, the obstruction becomes transparent so the action stays readable.
what I learned about reaction branches
The same move does not always have to resolve the same way. Entering a specific follow-up within a defined frame window can branch into a second timeline and change the hit properties and resulting reaction.
N depends on the move; this diagram illustrates the branching rule.
the air-combo discontinuity
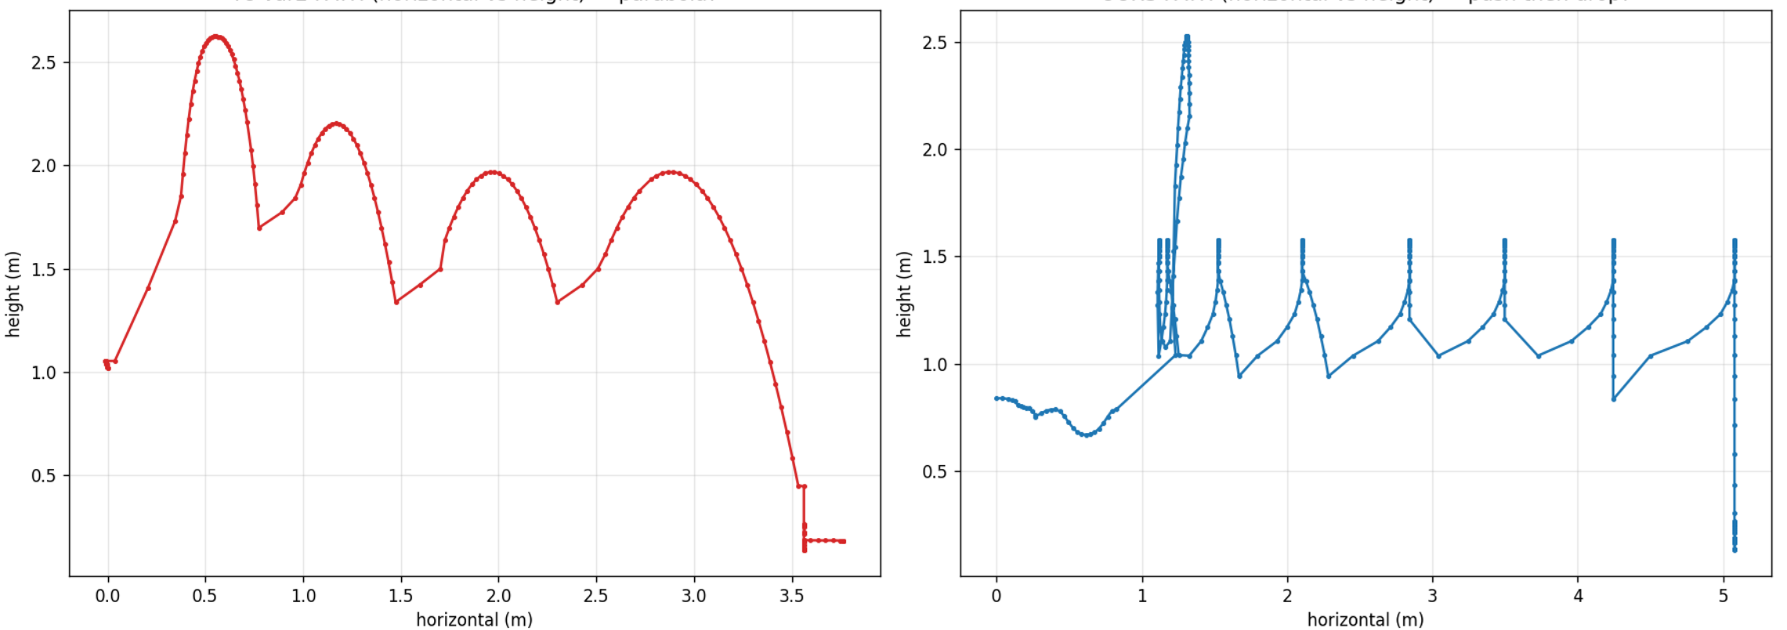
All moves were animation-driven. But an airborne opponent can be caught at different heights, at different moments in the fall, and from different distances. Replaying the same reaction animation from its fixed starting pose ignored those differences.
Each new hit could pull the victim back onto the animation’s authored path. The result was the visible snapping below: an air combo that felt like separate, disconnected reactions.
Reading the trajectories
I compared height against horizontal travel to make the discontinuity easier to inspect. The sharp vertical changes expose the mismatch between the height at contact and the reaction’s starting height.
The fix: preserve the catch, then converge
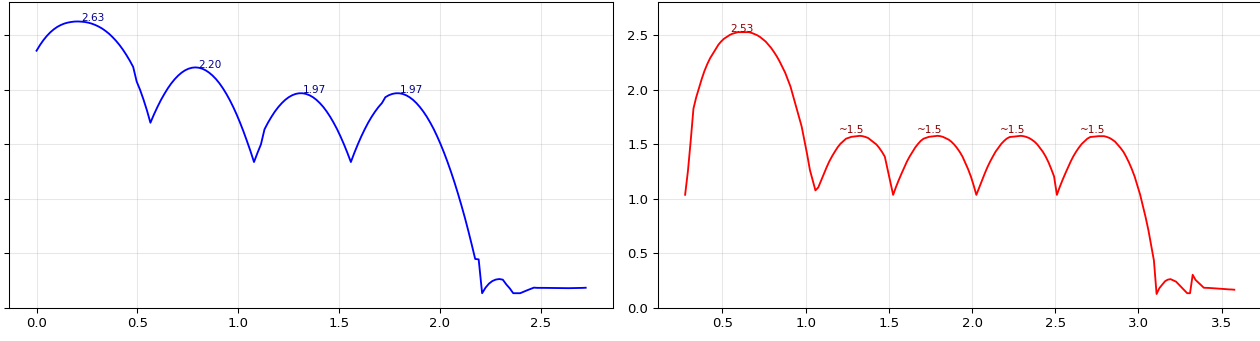
1. Start from the height where the hit actually connects. At each new air hit, I keep the victim’s previous visual hip height and compare it with the new reaction’s unblended first-frame hip height. Their difference becomes a non-negative vertical offset. The reaction starts from that catch height instead of snapping to its fixed authored start.
2. Fade the offset back onto the authored path. Keeping the offset forever would leave the victim floating above the ground. I reduce it linearly to zero over the first 75.8% of the reaction clip. Different catch heights remain distinct early in the reaction, then converge onto the clip’s landing path.
offset = max(0, catchHeight − clipStartHeight)
weight = clamp(1 − elapsed / (0.758 × duration), 0, 1)
visualHeight = animatedHipHeight + offset × weight
3. Blend the pose without corrupting movement. I blend from the previous pose into the new reaction, including repeated hits that restart the same animation. Root-motion deltas and the first-frame height are read before this blend, so the visual smoothing does not introduce false movement.
The attacks stay animation-driven, while each air reaction is anchored to the actual catch. This addresses the height reset and pose discontinuity without forcing every hit to begin from the same world-space position.
creating motions
I create motions in several ways: refining motion-capture footage with keyframe edits, trimming clips, and blending parts of different motions into new movements. The comparison brings together the reference, working motion, and character preview.
learning Blender and UE5
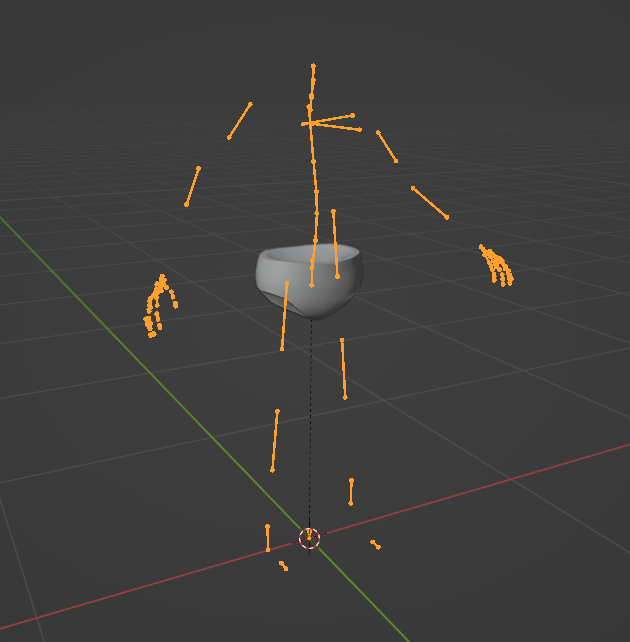
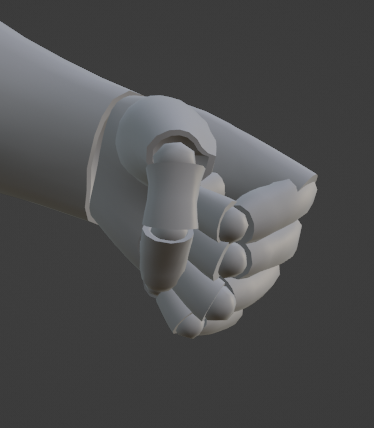
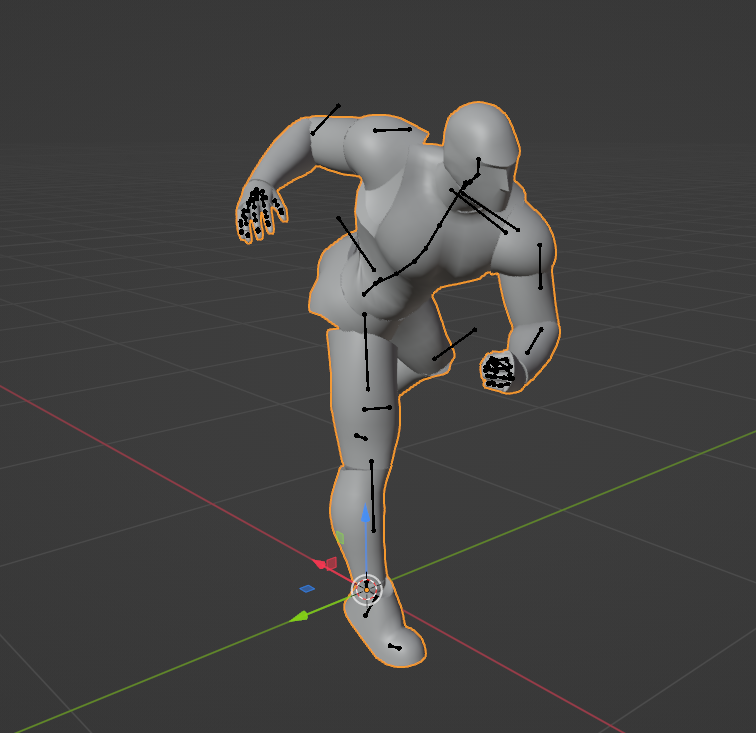
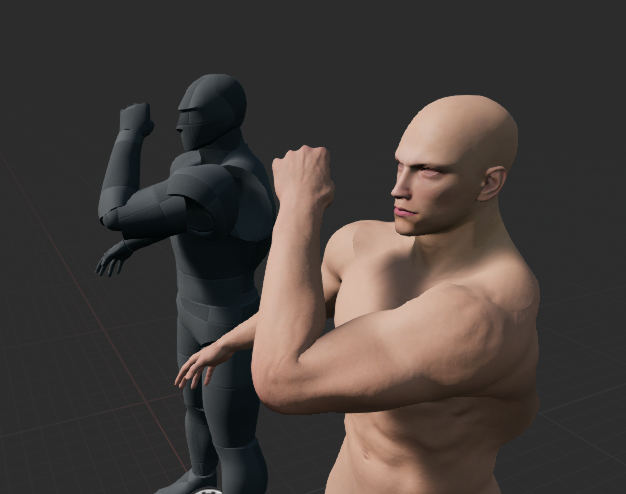
Learning through character rigging, posing, and clothing in Blender and Unreal Engine 5.
Character rigging & posing
camera & stage
When I first learned greyboxing, I did not know how to dress the stage or where to begin.
Finding a landmark
This was my first idea for a landmark, inspired by an Iron Maiden album cover. I sketched out how it could sit behind the arena.
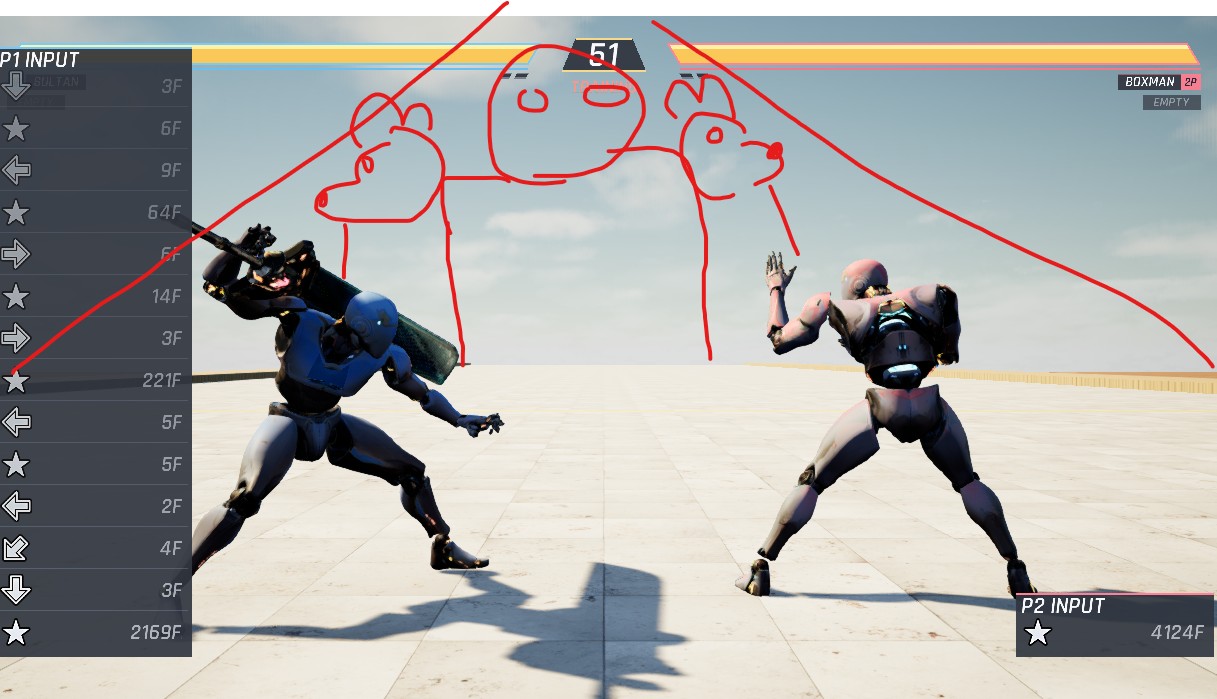
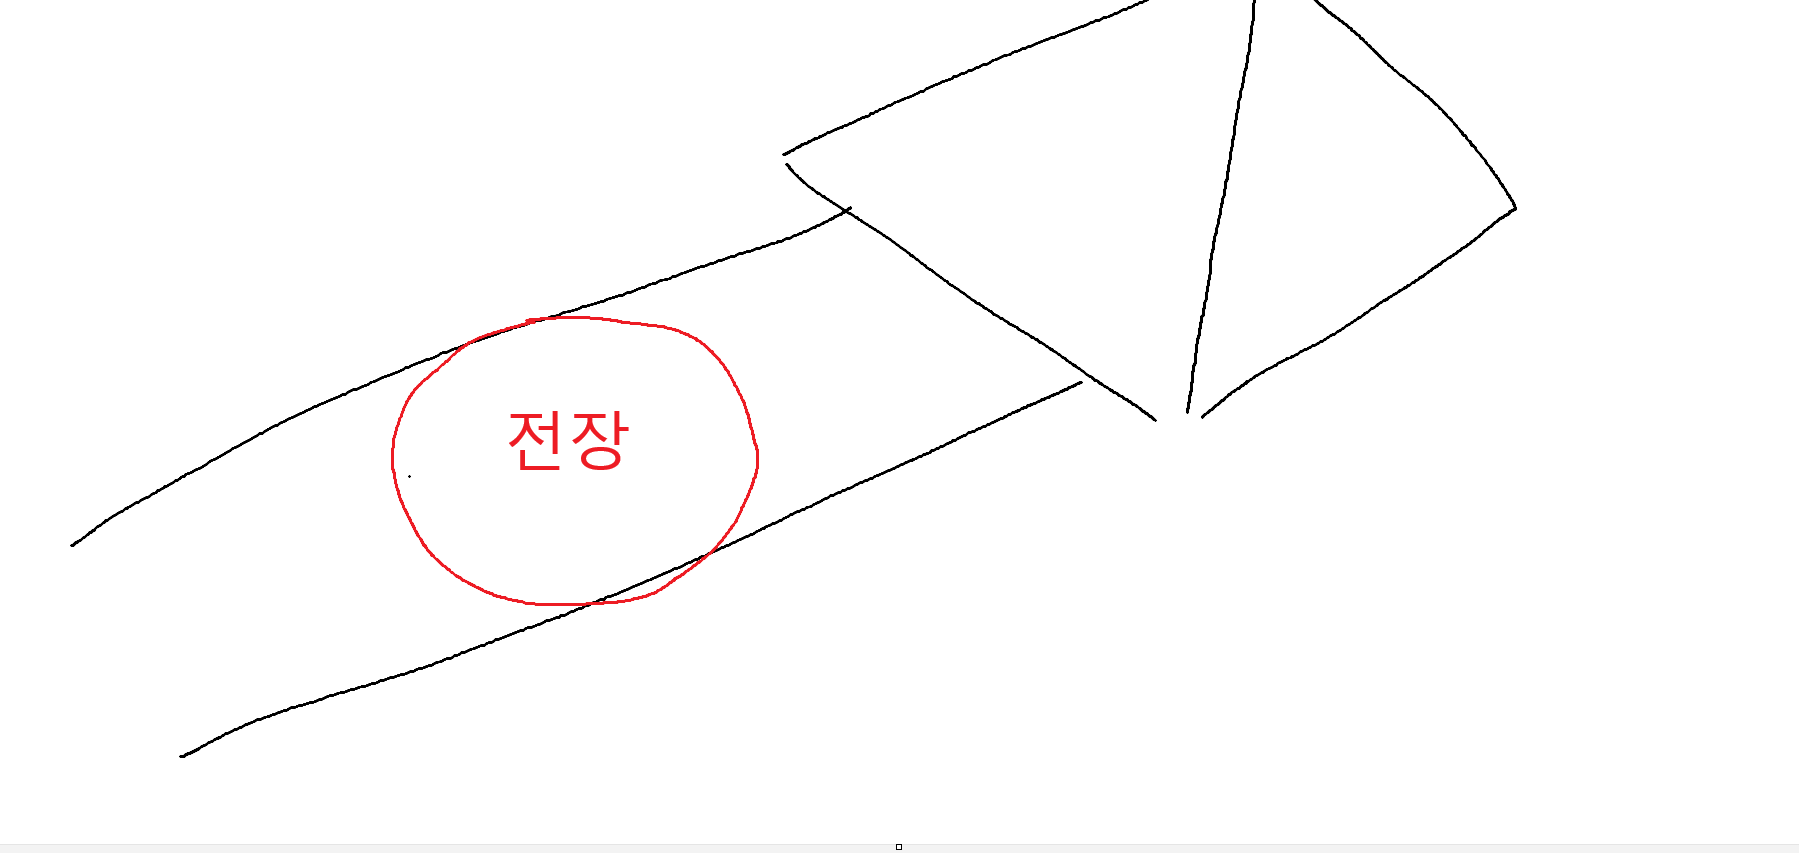
When realistic placement did not work
However, placing the landmark realistically failed to show it in full through the gameplay camera.
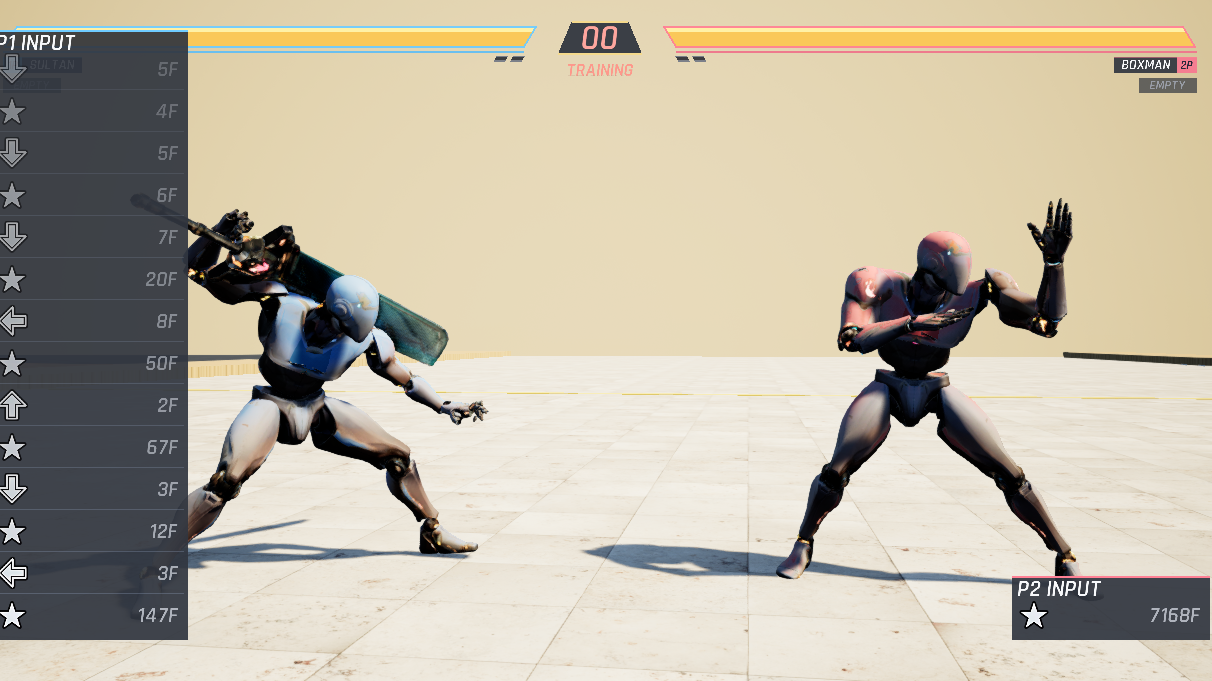
Building for the camera
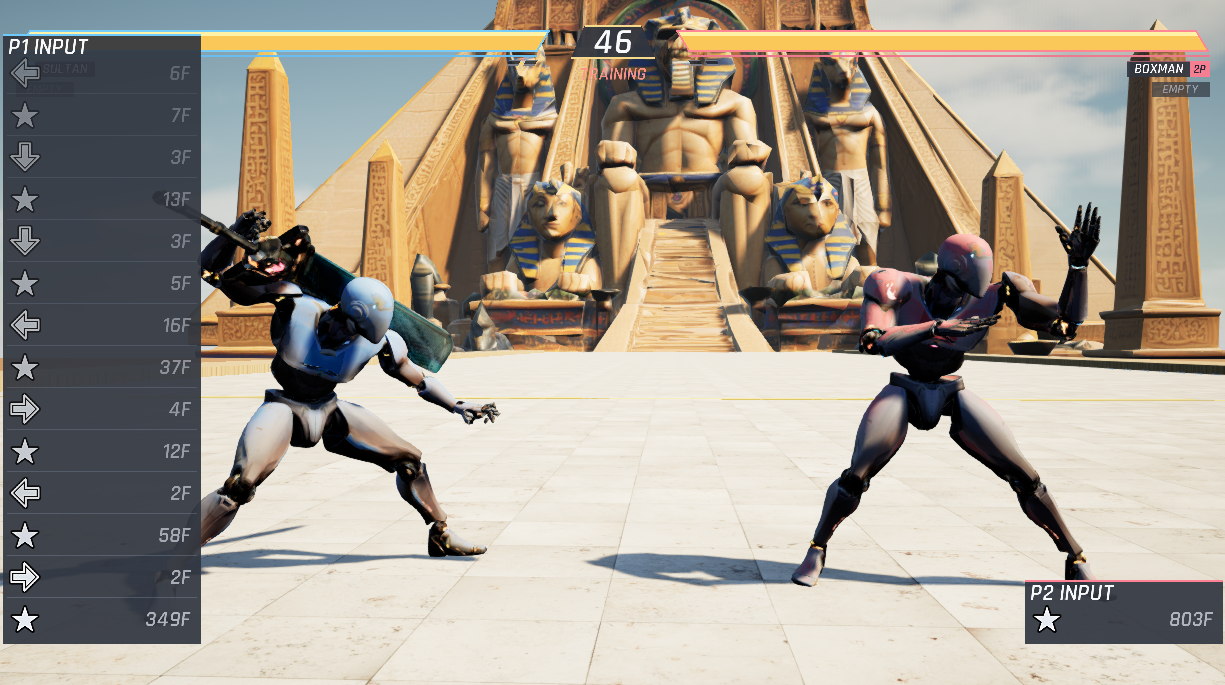
After some research, I figured out a few camera tricks used in fighting games: arranging the stage for the gameplay view instead of relying on realistic placement alone.
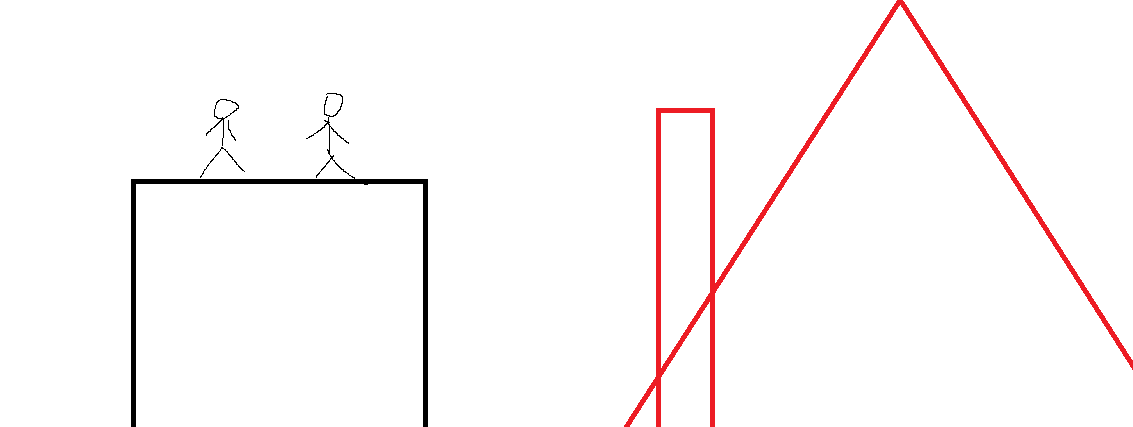
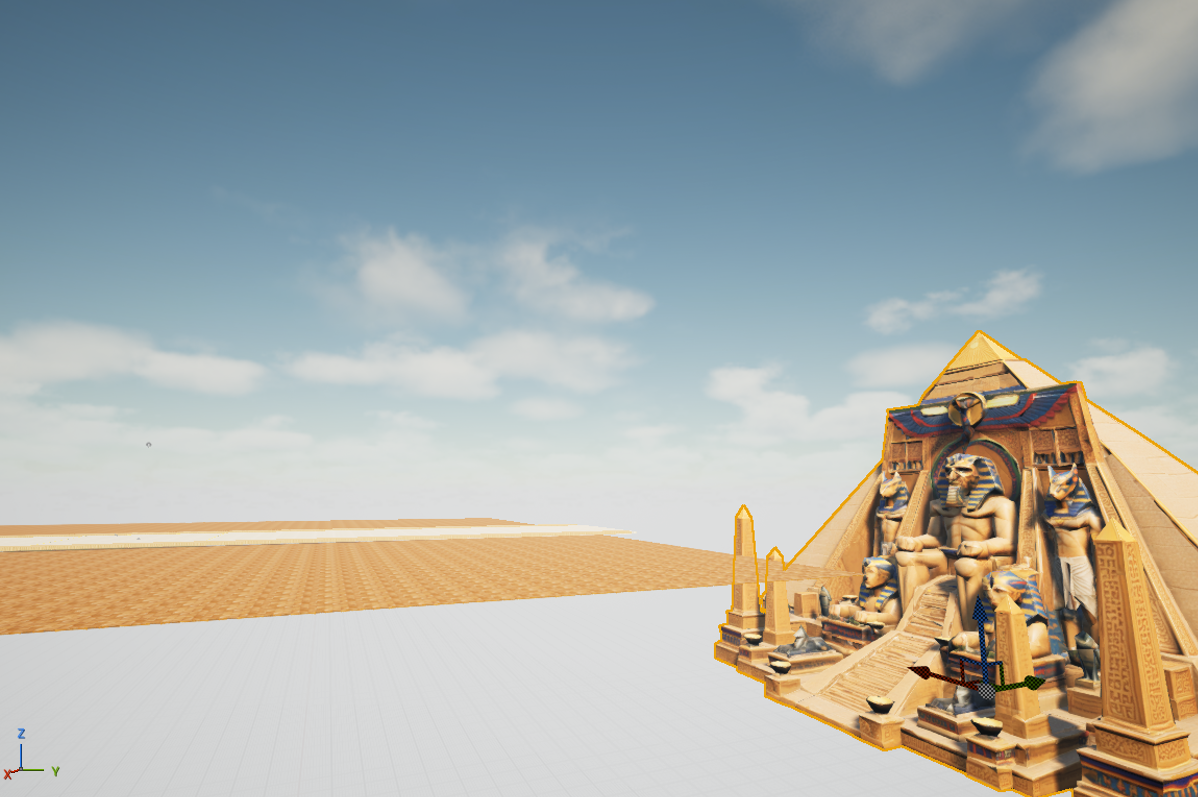
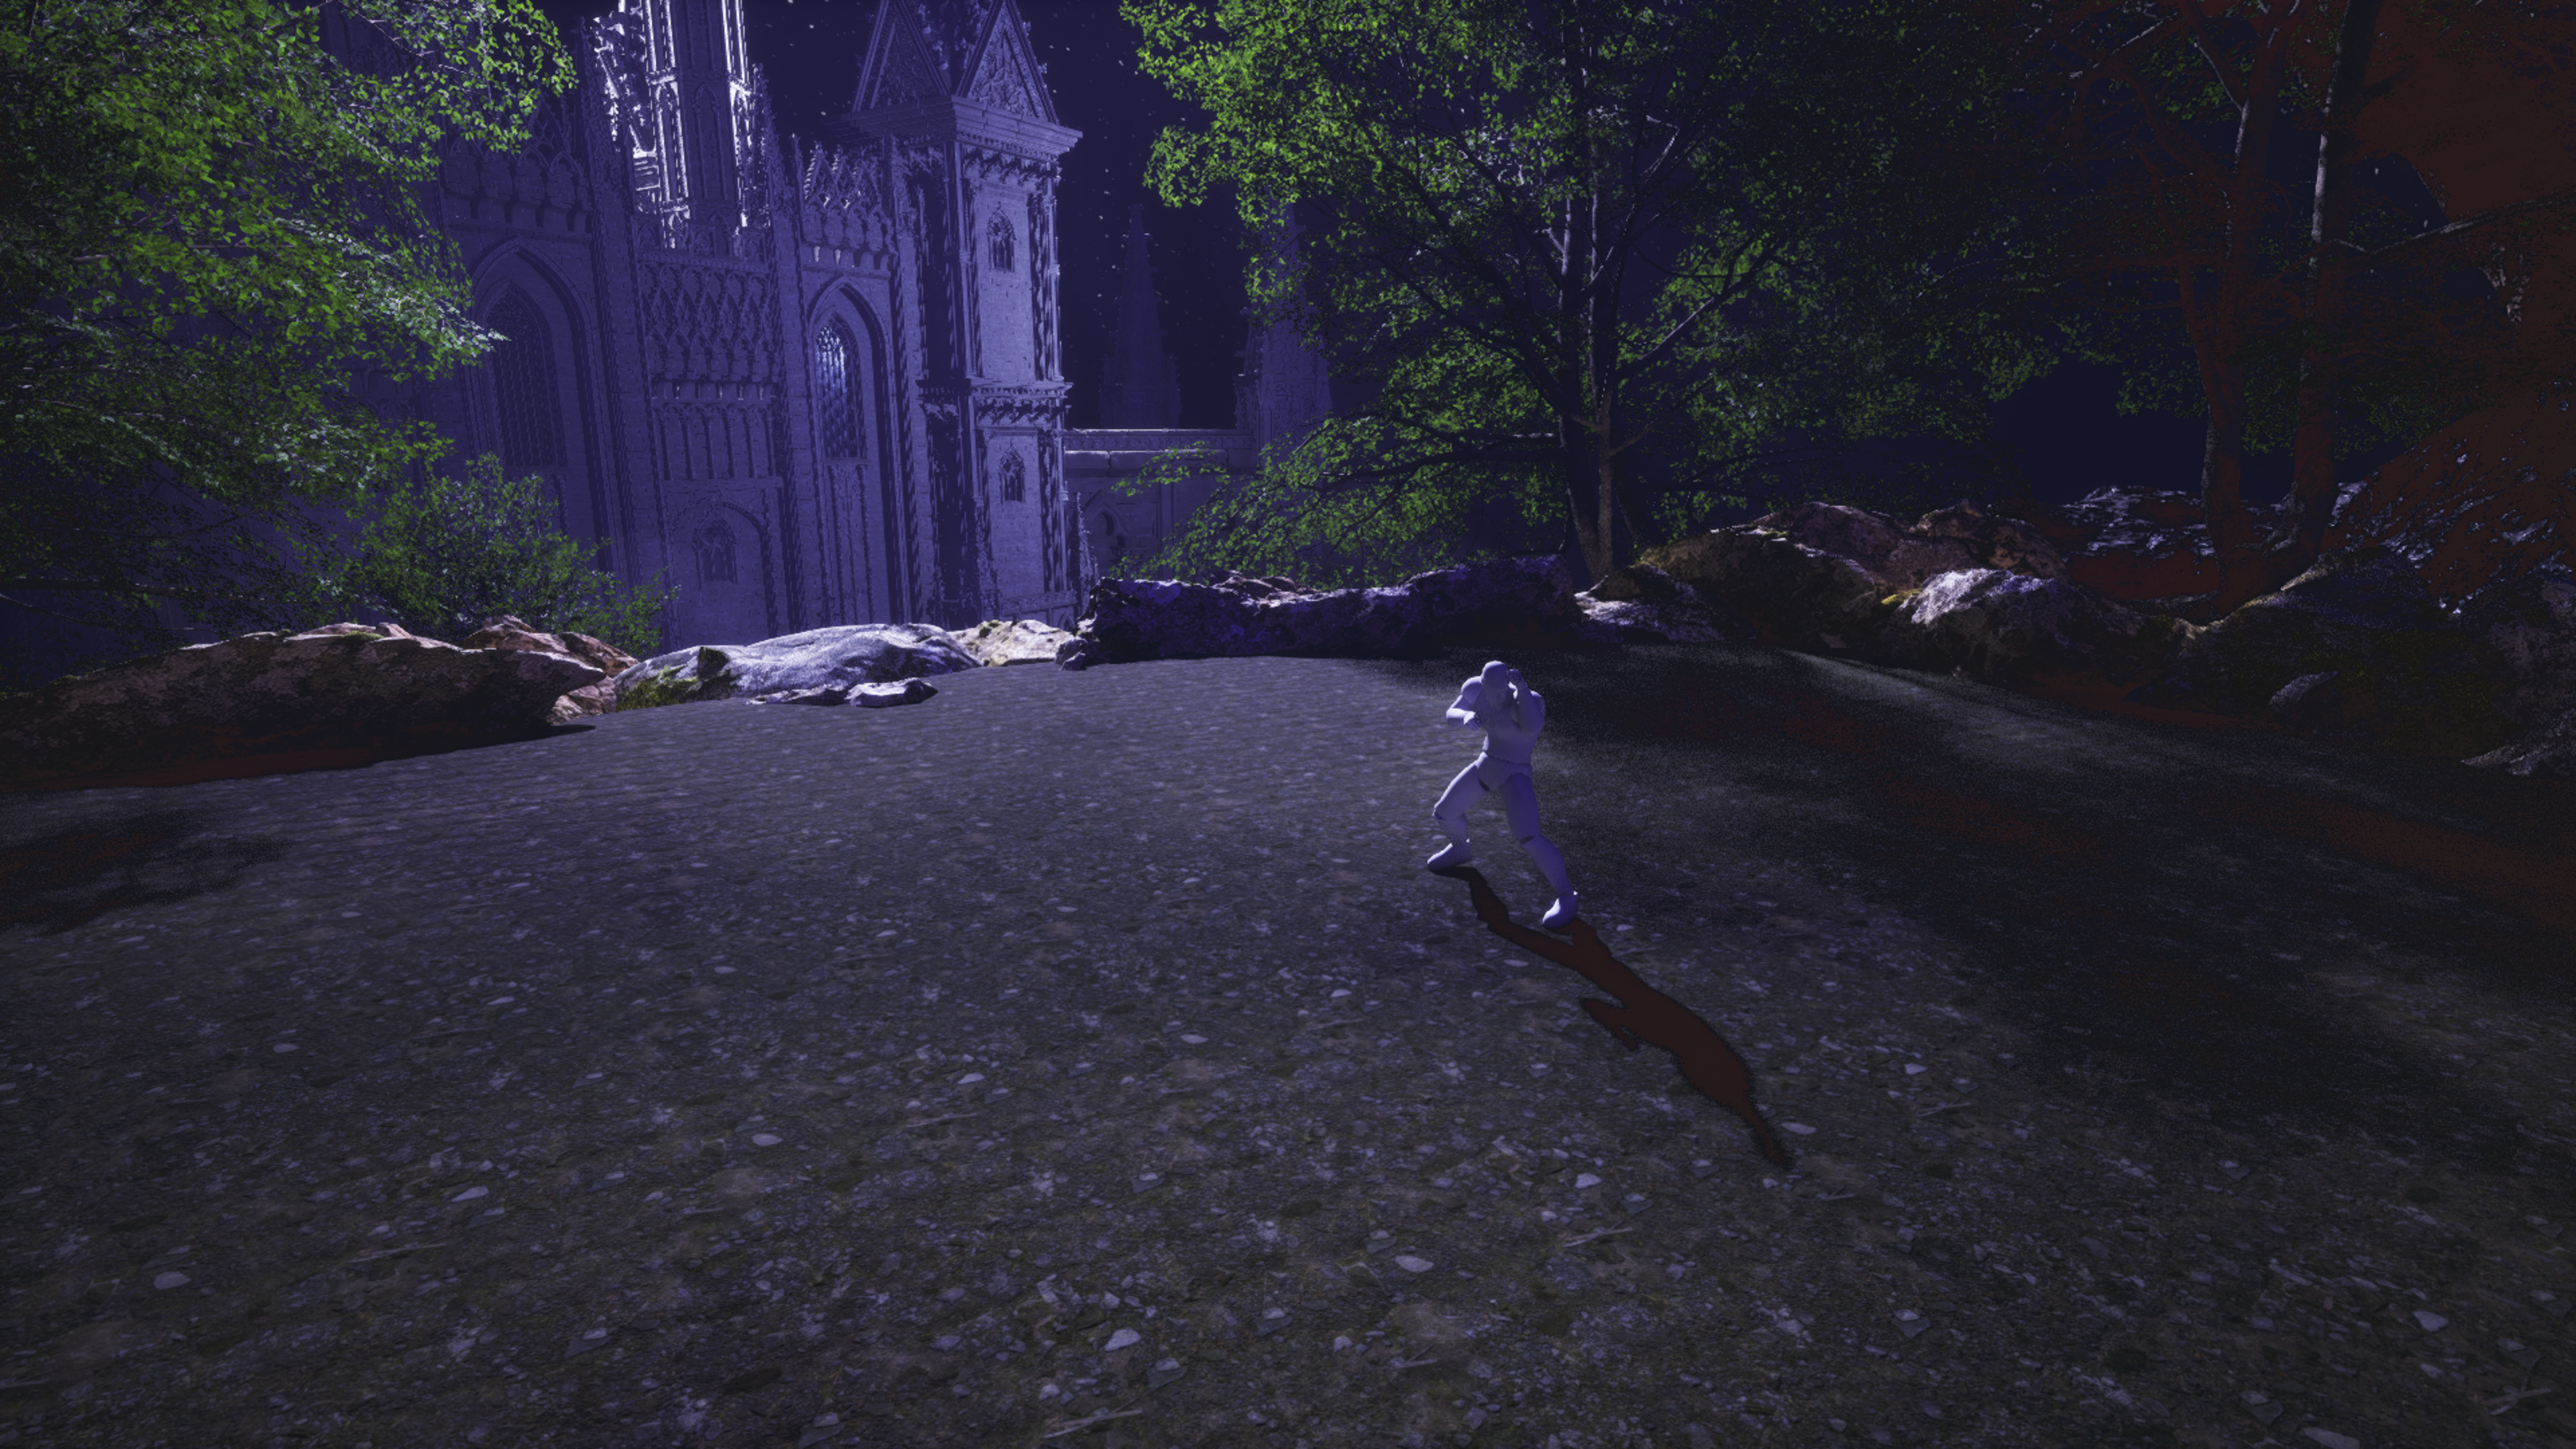
I ended up with a scene I was pretty happy with.
materials, lighting & Castle
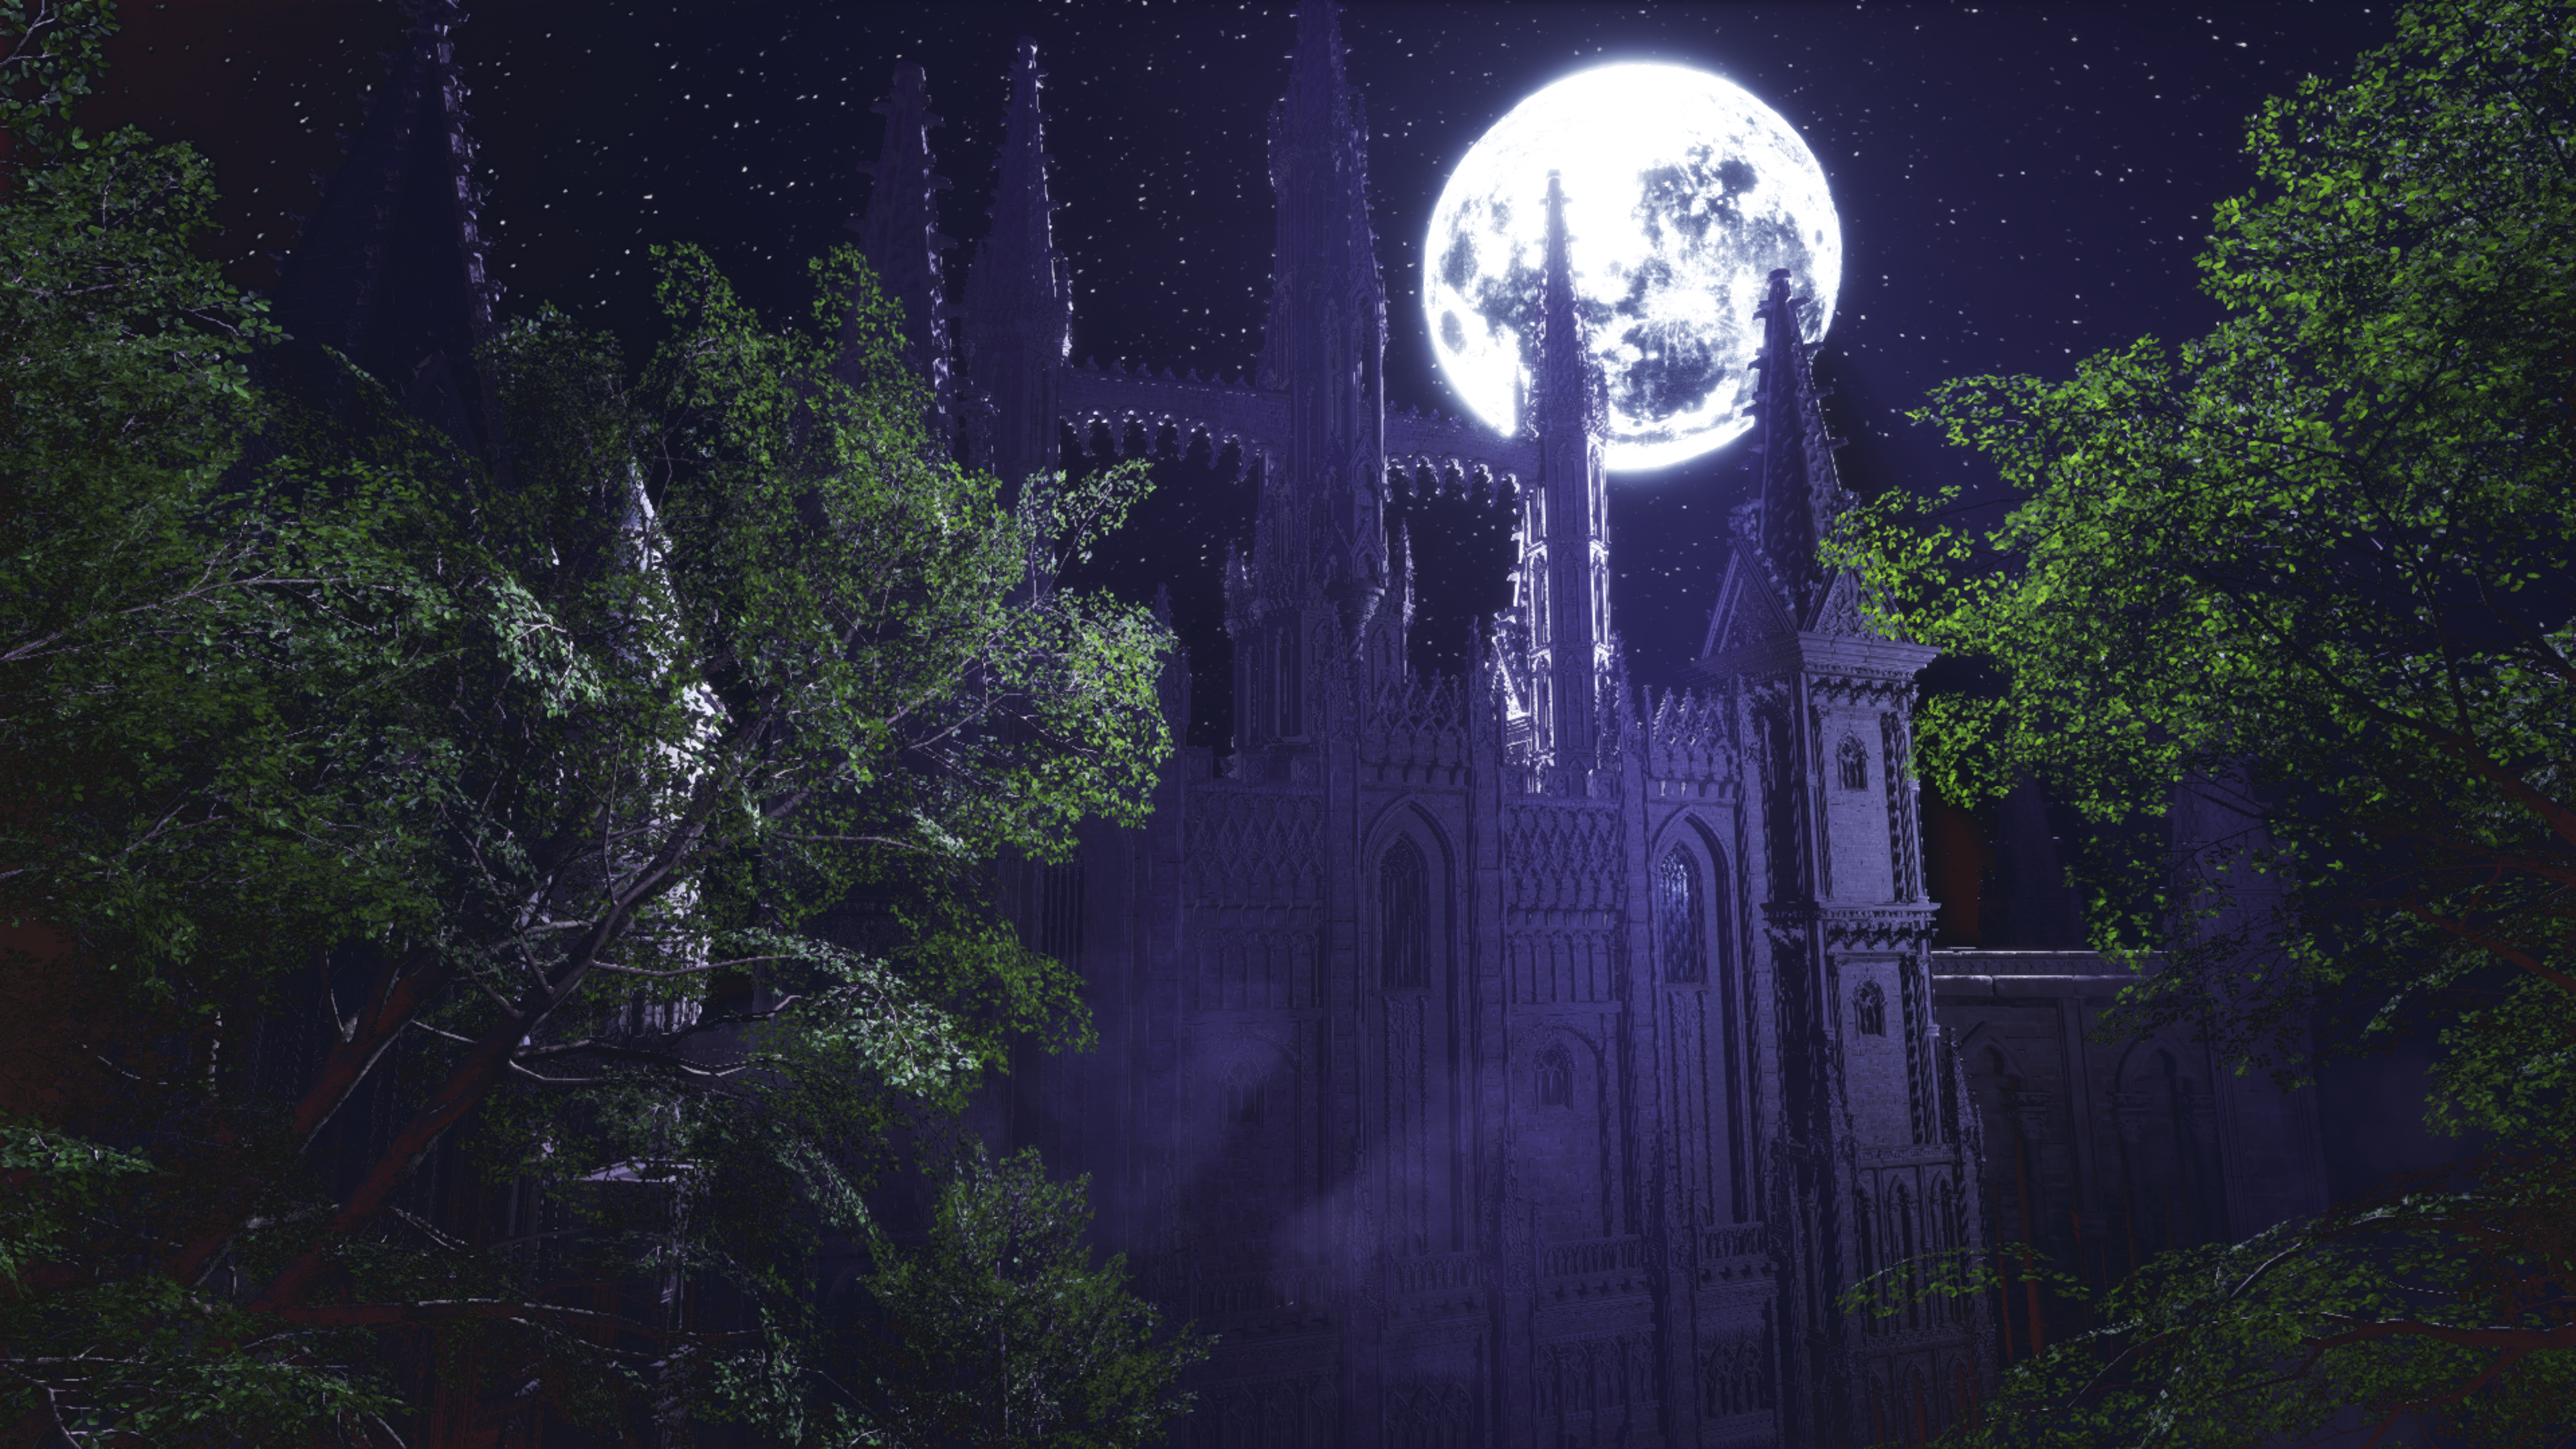
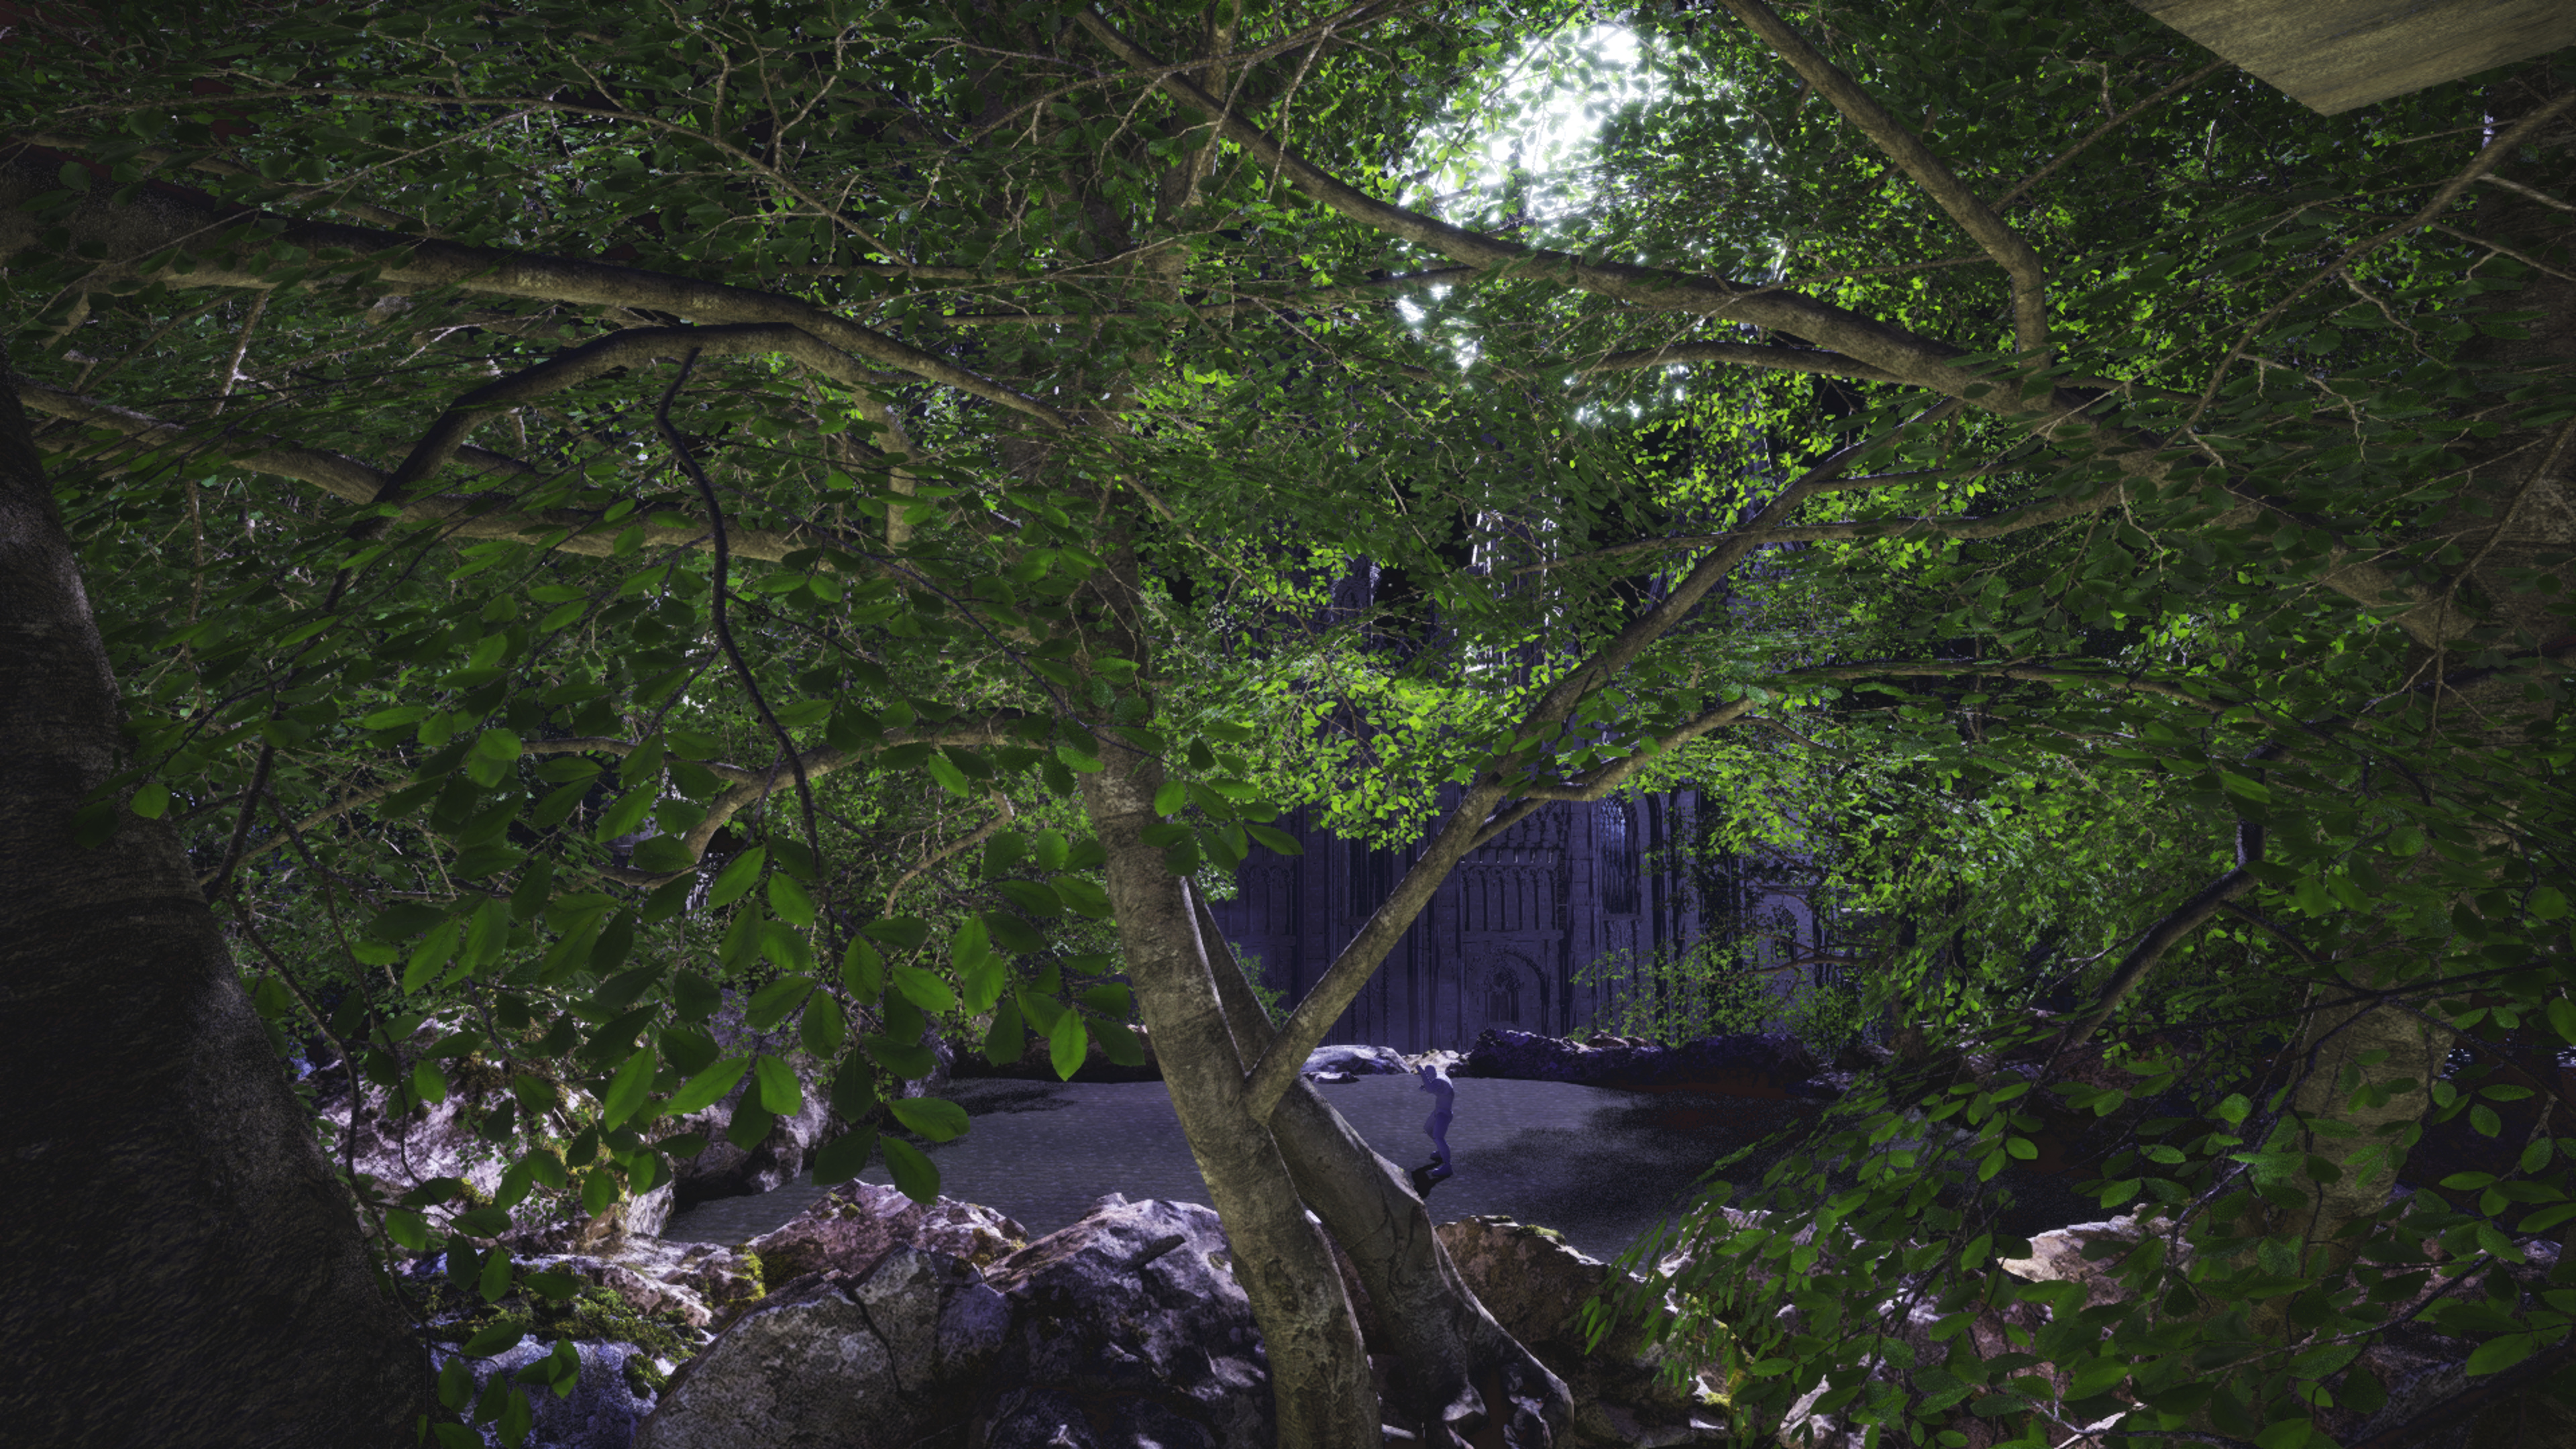
I studied materials, lighting, post-processing, and scene layout and composition. The Castle map is the result of putting those exercises together into a stage I built.